Drop files into the side panel
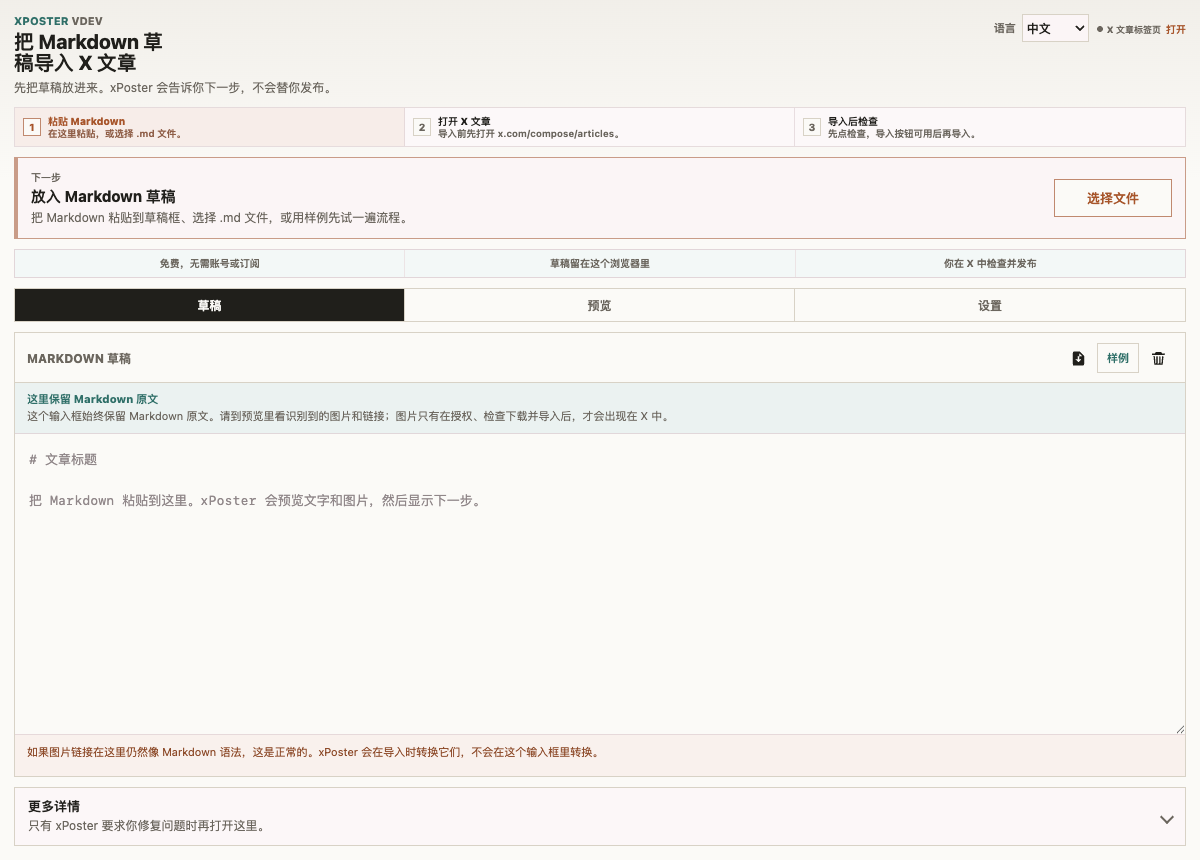
Paste Markdown, choose a file, or drop multiple .md files. xPoster can load one draft or queue several for later writing.
Chrome Extension · Manifest V3
Paste or drop a draft, write it into X with one button, and keep a record. Covers are optional; publishing stays yours.
01
The website now reflects the newer side-panel flow: faster drafting, clearer records, and a separate cover lane.
Paste Markdown, choose a file, or drop multiple .md files. xPoster can load one draft or queue several for later writing.
Each article written to X is one row with its result and one action; your five most recent drafts sit folded underneath.
Use OpenAI, Gemini, or an OpenAI-compatible endpoint. Keep API keys and reusable cover styles in local settings.
While writing, the side panel shows the current step and a Stop button. When something needs you — an image that stayed a link, a cover to retry — it says so in one line.
02
Markdown stays your source of truth. X stays the final publishing surface. Search the capabilities below.
No features match that search.
03
Generate article cover candidates only when you choose to. API keys, reusable visual styles, and recent covers stay in the side panel settings.
OpenAI, Gemini, and OpenAI-compatible image endpoints are supported. Keys are stored locally in the browser.
Keep a list of visual rules, pick one as the default, and edit each style in a compact dialog.
Generate 5:2 candidates, review them locally, then set the selected cover on the current X Article draft.
04
Open an X Article, put your Markdown in the side panel, and press Write to X.
Add xPoster from the Chrome Web Store.
Go to x.com/compose/articles.
Paste text, open a .md file, or drop several — in the side panel or anywhere on X.
Generate one with your own image API key, or let the first image be the cover.
xPoster fills the Draft.js editor for you.
You make the final editorial call in X.
05
What goes in, and what xPoster does with it.
---
title: How I Write Long Posts for X
cover: ./images/cover.png
---
# How I Write Long Posts for X
I draft in Markdown first, then use
xPoster for the final handoff.

| Step | Tool |
| ----- | ----------- |
| Draft | Obsidian |
| Post | X Articles |
https://x.com/xiaoxiaodong01/status/123| Input | Behavior |
|---|---|
--- title --- | Uses frontmatter title when possible. |
# Heading | First H1 becomes the title as a fallback. |
| Paragraphs, lists, quotes | Converted to X Article rich text. |
**bold** `code` | Inline styles and links preserved. |
 | Uploads local or web images xPoster can read. |
| Markdown tables | Written as readable X tables. |
| X / Twitter status URLs | Inserted as real tweet embeds where supported. |
| Code fences & dividers | Written as X Article code and dividers. |
06
07
Install from the Chrome Web Store, then open an X Article to start.
After install
08
Sign in with your 小小东 account. Every new account gets 7 days with everything; after that, write one article a day for free, or become a member.
Member
Or ¥199 for 3 years. US$5 / month or US$29.9 for 3 years by card. A 小小东 VIP membership also counts.
Free
09
Yes. xPoster uses the 小小东 member-site account. Your drafts, history and covers stay in your browser; the account only checks your membership.
Load or edit a Markdown draft first, open an X Article tab, then click Check article.
Local images need a selected image folder. Web images need to be downloadable after Chrome grants the image-site permission.
Do not publish yet. Edit directly in X, or reset the draft and retry from the saved Markdown record.
Open Settings › About › Copy diagnostics in xPoster and send it to the author on X.
Only the optional cover generator uses your own key. xPoster prepares an editable direction locally from the draft. After you click Generate, it sends that visible direction, your selected optional style, and fixed image-generation instructions—not the rest of the draft. You can also point it at any OpenAI-compatible endpoint, including a local one.